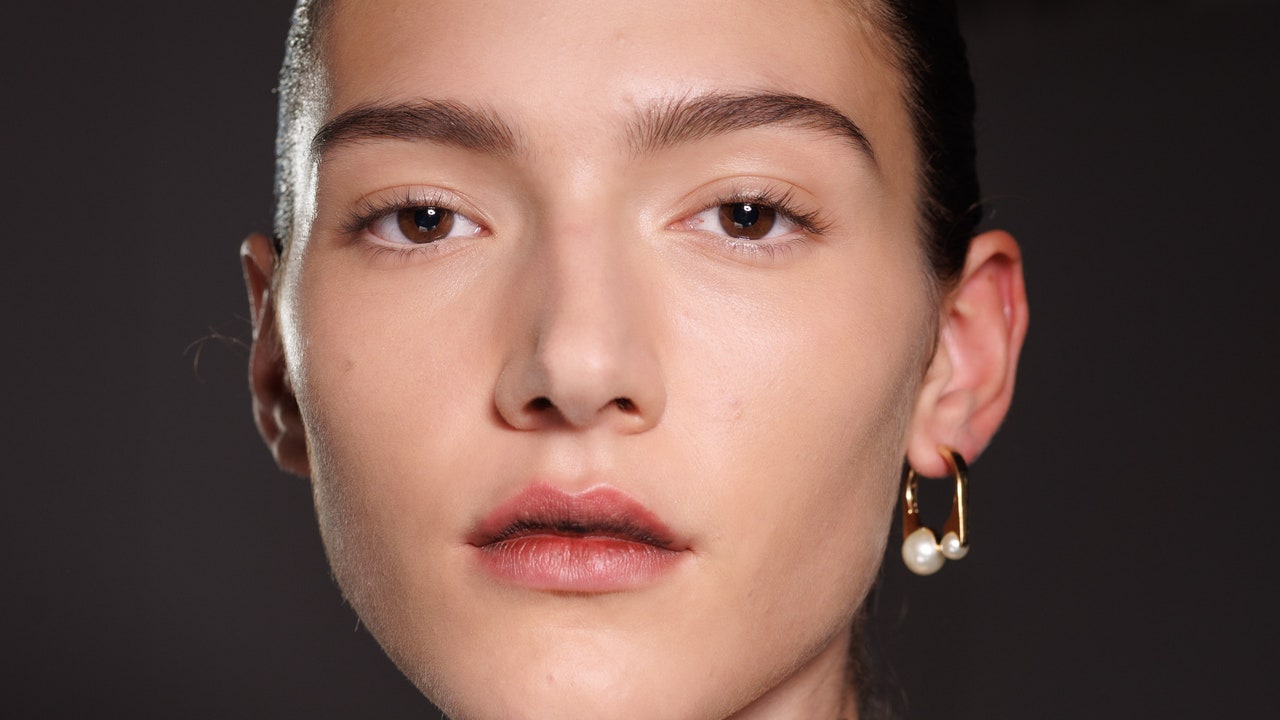
Next, Hughes advises applying some concealer on the back of your hand, picking up a small (and she means small) amount with the brush, and going in. She takes the concealer on the brush and sweeps it up against her eyelid, avoiding the middle part of the eyelid where the skin would naturally crease. There, she presses a small amount of concealer in with her fingertip instead. “If I went straight in there with the bulk of product that’s on my brush, I’m going to get creasing—just the same as if I have nasolabial folds and put concealer right there,” she says. So, you want to avoid loading product onto your area of concern. Hughes demonstrates this more delicate and sparing technique with a gentle tapping motion on and underneath her eyes, as well as on blemishes—immediately you see purple veins and reddish marks evening out. “You can see there’s not much on the brush, but it is transferring.” Need to color in a bit more? Pick up a little bit more concealer from the back of your hand and build it up—tap, tap, tap lightly again.
Lessons learned? Use a small brush for precision, the appropriate amount of pressure, and technique. Don’t apply concealer directly to the area you want to cover, and build up product softly. “If you’re an over-user [on your] complexion…challenge yourself,” Hughes says, “to use brushes like this. It will teach you a heck of a lot about application, product, and pressure. You will learn how much you really need.”
Put even more simply? “Consider yourself a painter,” says Hughes. Hughes likens your face and concealer product to a blank wall and paint—you wouldn’t slap the paint directly on your wall, would you? Nope—you use a tray, you get your product going, you have the right tools. Now go forth, the Bob Ross of flawless faces.
#Concealer #Creasing #Makeup #Artist #GameChanging #Tips


